¶ LEEGOO Builder WEB-Client Installation
¶ Description
Complete description and documentation for the correct installation of the LEEGOO BUILDER WEB-Client. All installation methods and verifications are considered.
¶ Foreword
Before proceeding with the installation, the following documents should be read. They list, for example, the minimum requirements for the virtual machine (VM) or basic information about the LEEGOO BUILDER itself:
LEEGO BUILDER G3 Minimum Requirements
LEEGO BUILDER Engineering Edition G3
To ensure the web application works, the LEEGOO BUILDER (G3) must be installed, and the corresponding database must be set up on any SQL server.
¶ Download the Setup File via the ESP Service Portal
In our ESP Service Portal, users can download the designated release. Additionally, earlier versions can also be downloaded. Users can access the download page via this link.
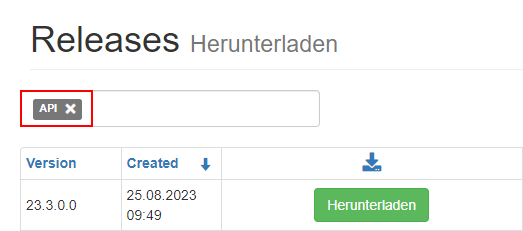
Two different files need to be downloaded. First, select API and download the latest version.
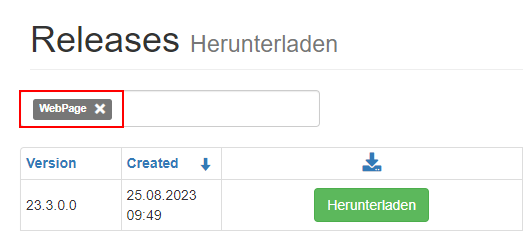
Then switch to WebPage and download the latest version.
If the link does not work, users must register on the portal and then be approved!
After this, the user should have two files in the download folder.
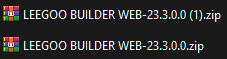
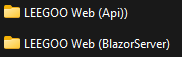
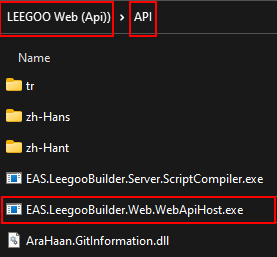
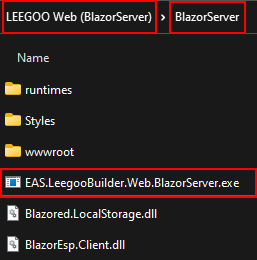
Both files must be extracted using any extraction program. Each folder will contain subfolders named API and Blazer. To avoid confusion, it is recommended to rename the extracted folders accordingly:
¶ Add Connection String in "connections.json"
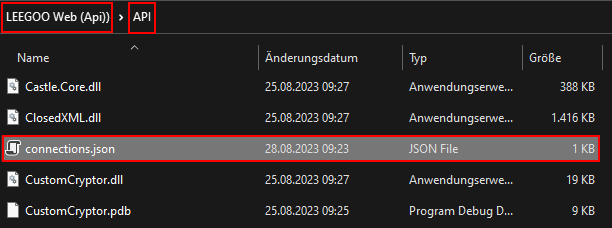
The connections.json file is needed for this. It is located in the API subfolder.
To allow the Web-API to access a database, the connection-string must be manually added. Users can read this from the EAS Database Manager. By right-clicking, the menu option Copy LB-Connection Json can be selected.
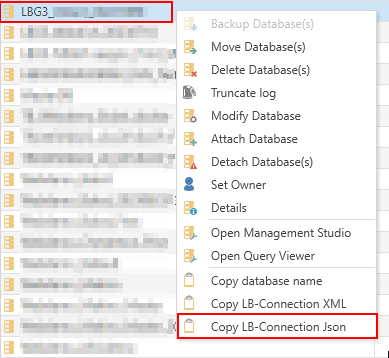
The connection-string is now in the clipboard and must be pasted into the .json file under default:
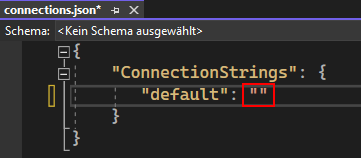
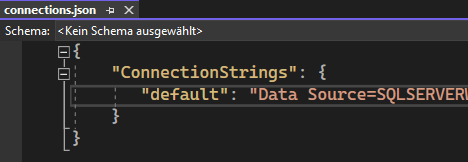
¶ Syntax
{
"ConnectionStrings": {
"default": "INSERT_API_HERE"
}
}
¶ Starting the Web-Client
In the subfolders, there are two .exe files that need to be started to launch the web applications:
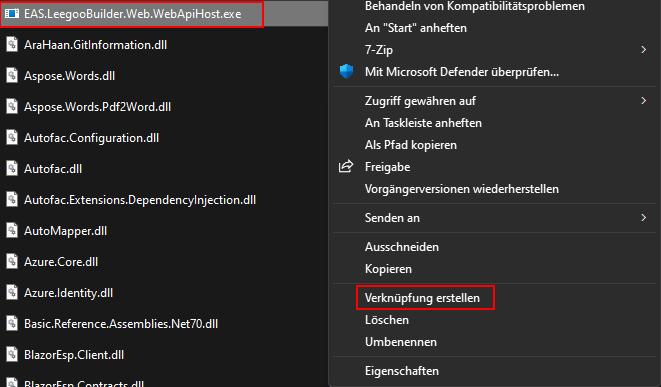
- EAS.LeegooBuilder.Web.WebApiHost.exe
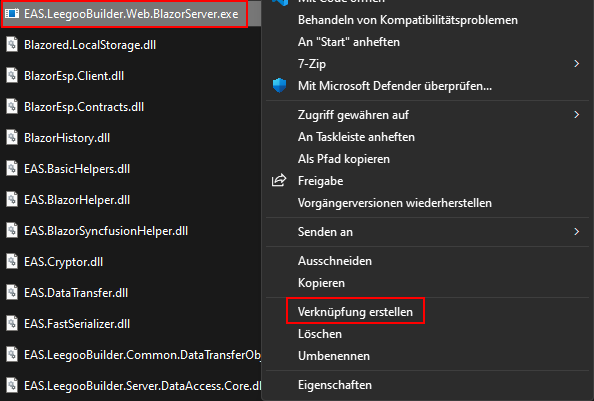
- EAS.LeegooBuilder.Web.BlazorServer.exe
Two different CMD-Terminal-Servers will open:

In the Blazor terminal, the URL to connect to the Web-API will be displayed.
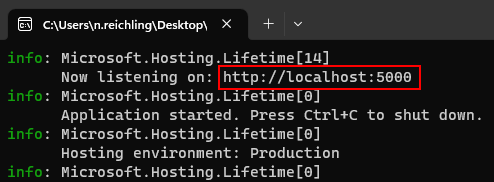
To click the link, the CTRL key must be held down!
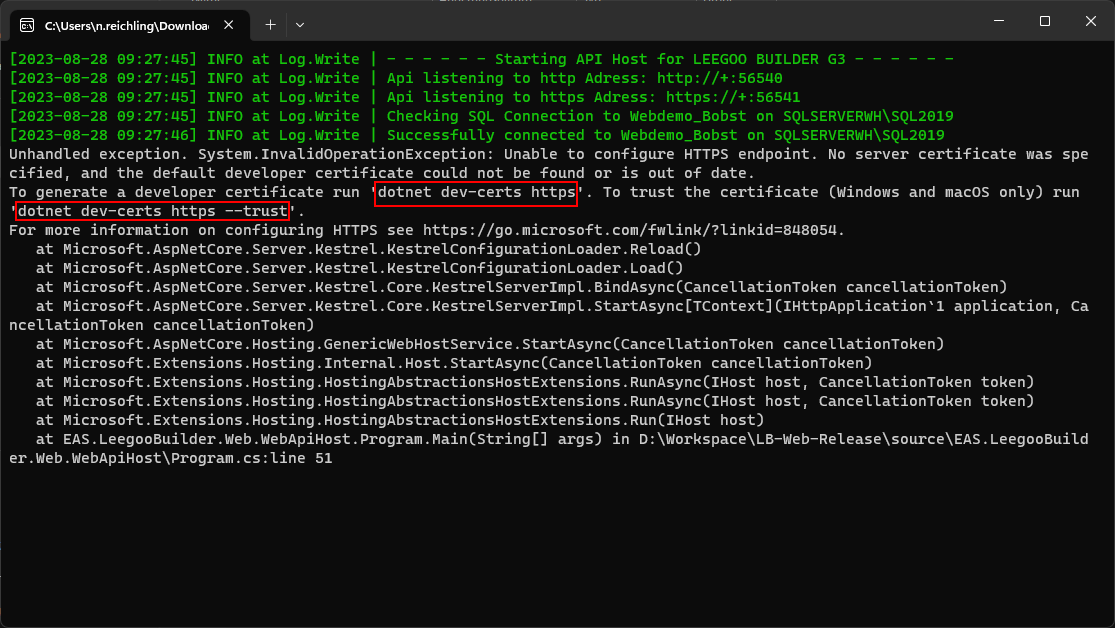
¶ Troubleshooting: API Terminal Fails to Connect to the Database
If the console shows errors or immediately closes, two commands must be entered via PowerShell.
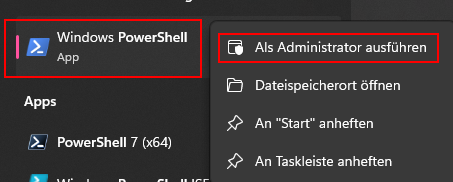
Open a new PowerShell terminal with admin rights.
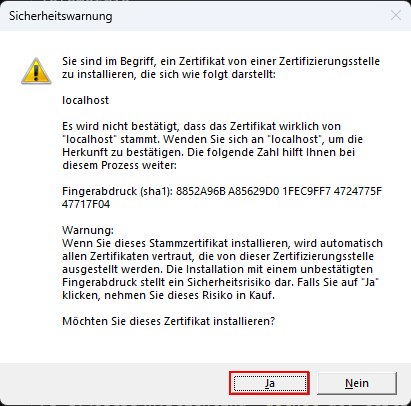
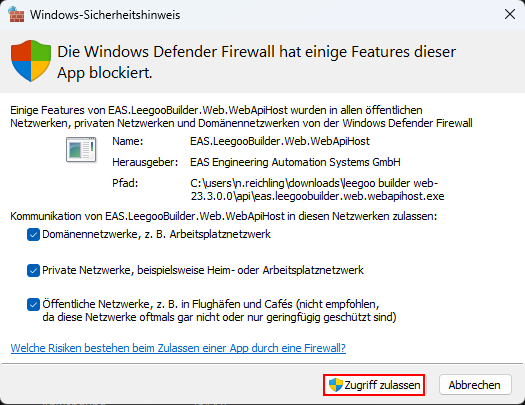
Execute the commands "dotnet dev-certs https" and "dotnet dev-certs https --trust". After pressing [ENTER], new input prompts will appear, which must be confirmed with "Yes" or "Allow Access".
Then the .exe files can be started again. The connection should now be successful.
¶ Adding WEB-Client to Windows Startup
To avoid reopening the terminals every time, it is recommended to add them to Windows Startup.
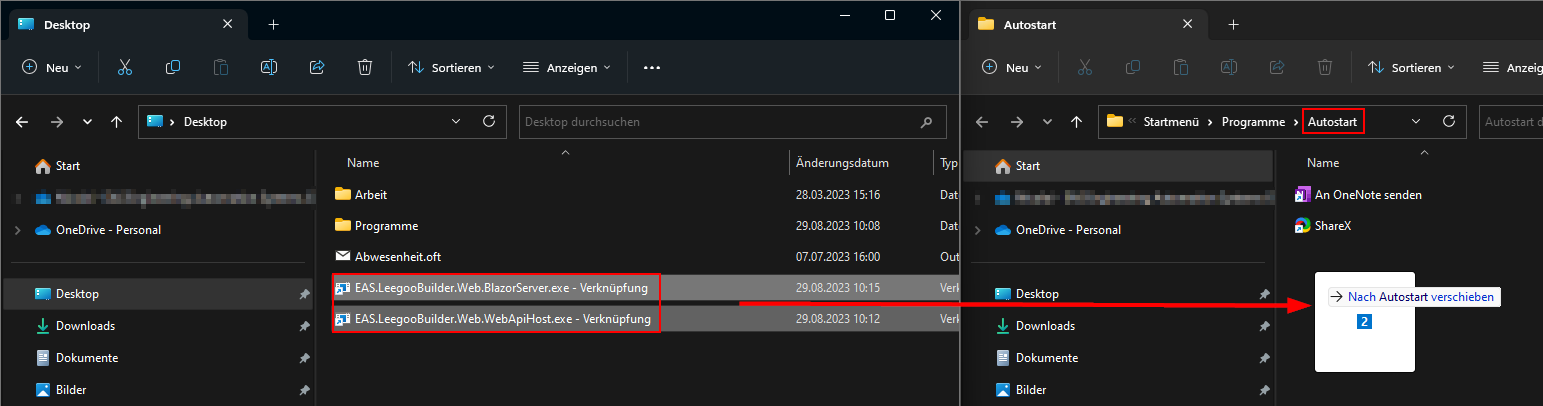
Right-click on the two .exe files and select Create Shortcut.
The created shortcut files will be in the same folder as the original .exe files! It is recommended to move these to the Desktop!
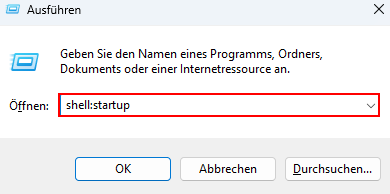
Press [Windows] and [R] simultaneously to open the Run window.
Enter the command "shell:startup" and confirm with OK. This will open the startup folder.
Move the previously created shortcuts to the Startup folder.